Here i will explain how to create custom animated objects (for now two types of animation - vertical and horizontal rotation). In time i will update this section with new types of animations.
ANIMATED OBJECTS
1.Preparation of custom object that will be animated.
2.Set up metafiles (ycd and ytyp)
3.Adding extension to animated part of object.
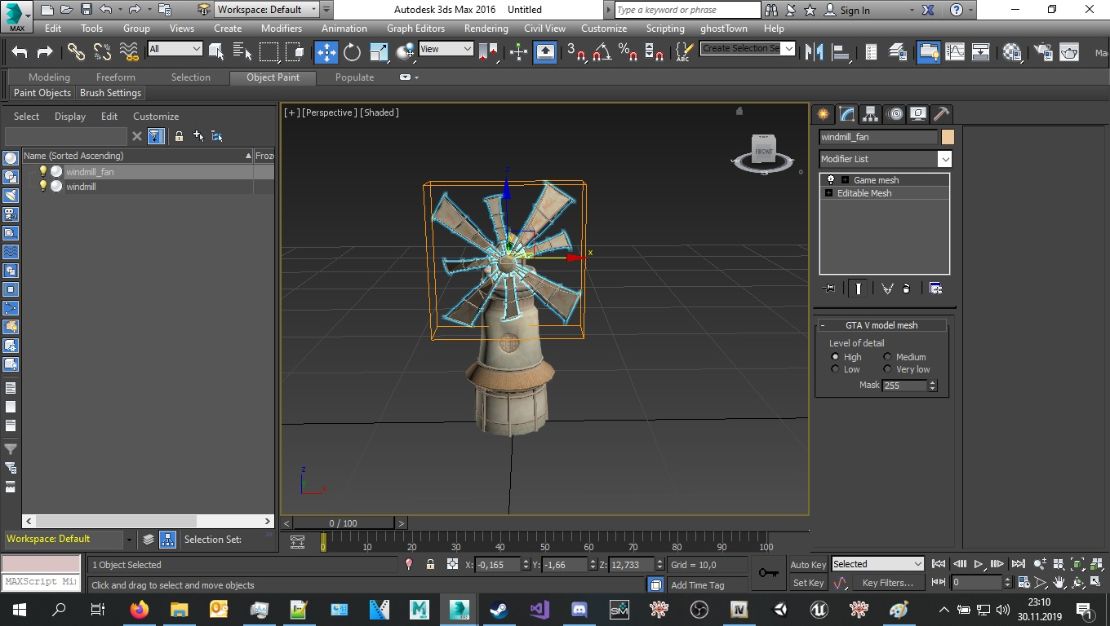
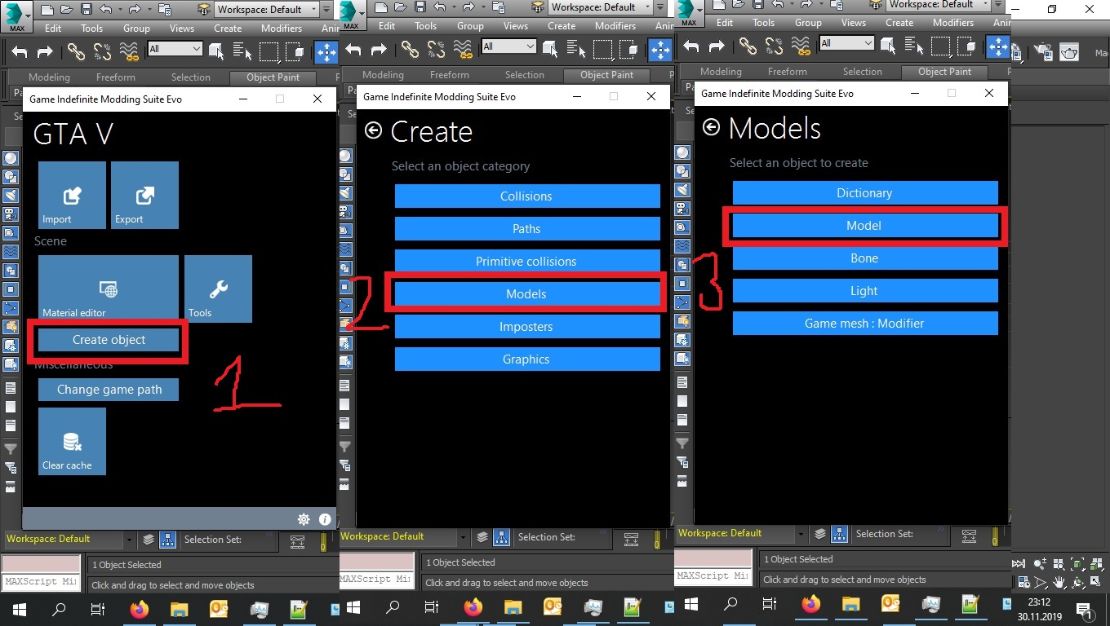
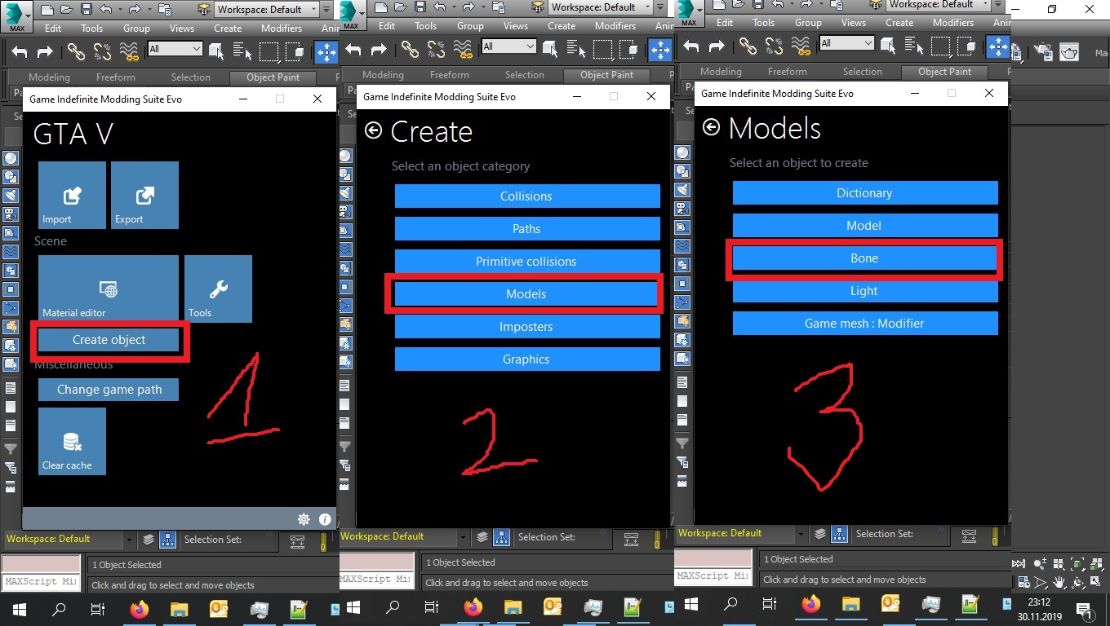
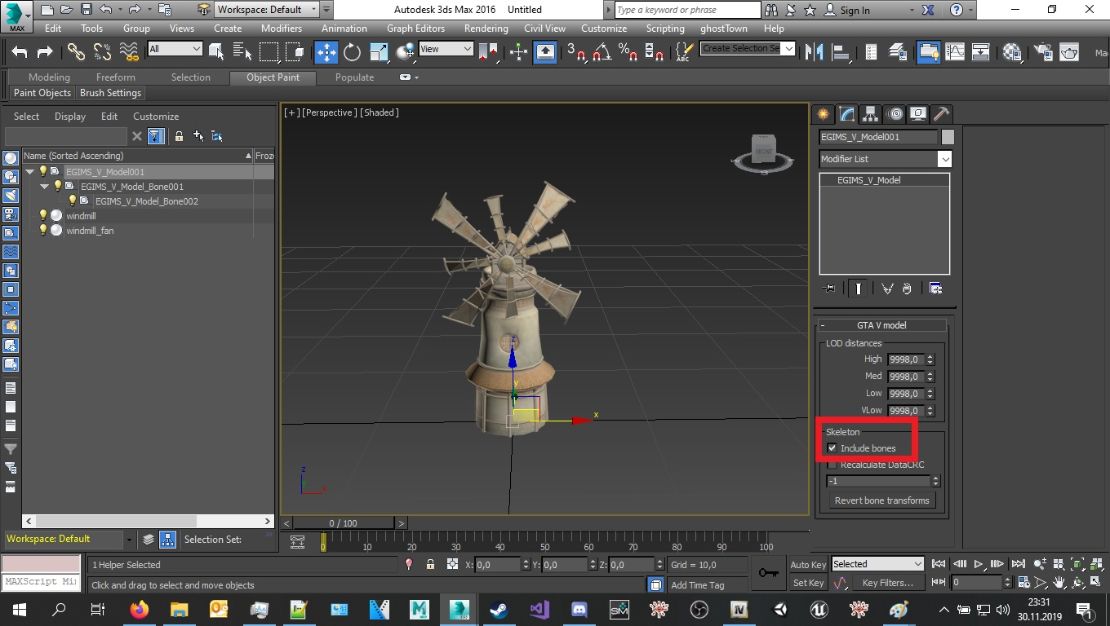
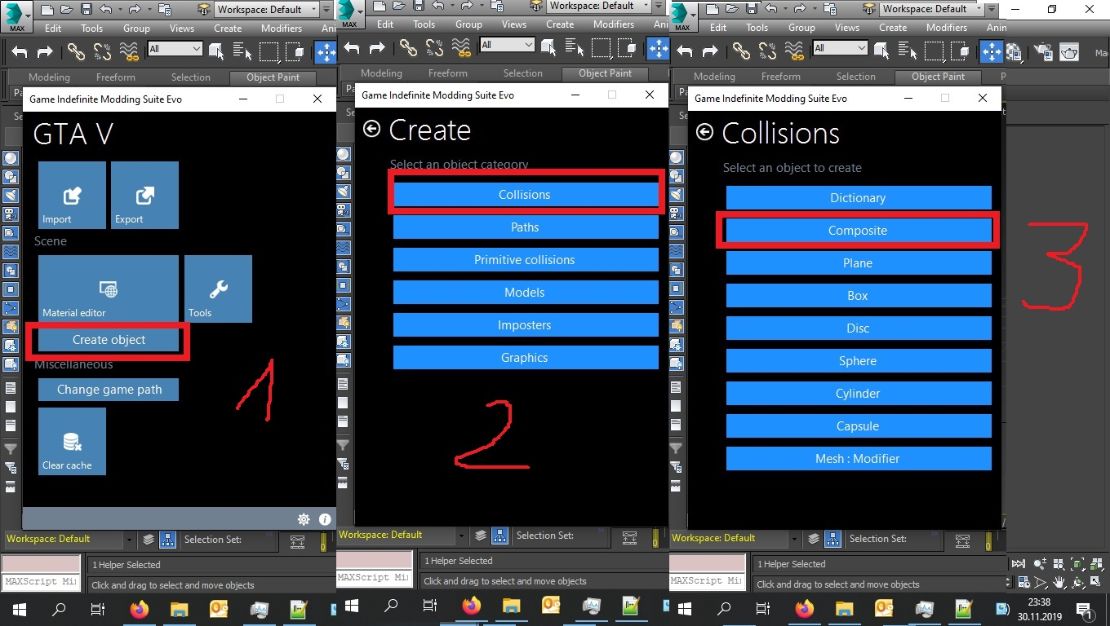
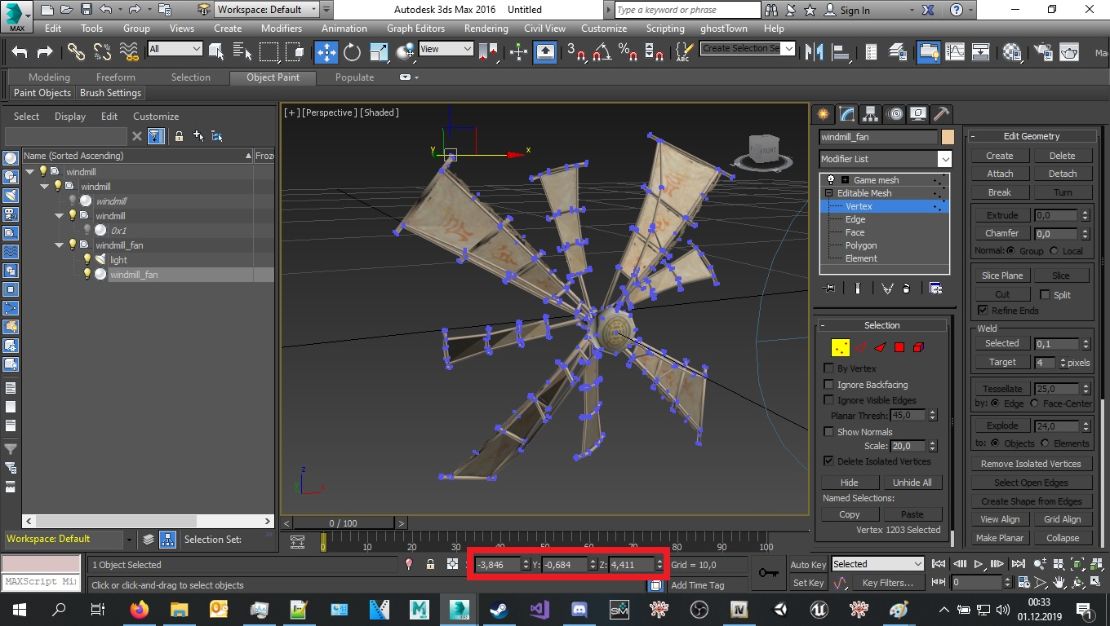
1. Preparation of custom object
(skeleton creation)
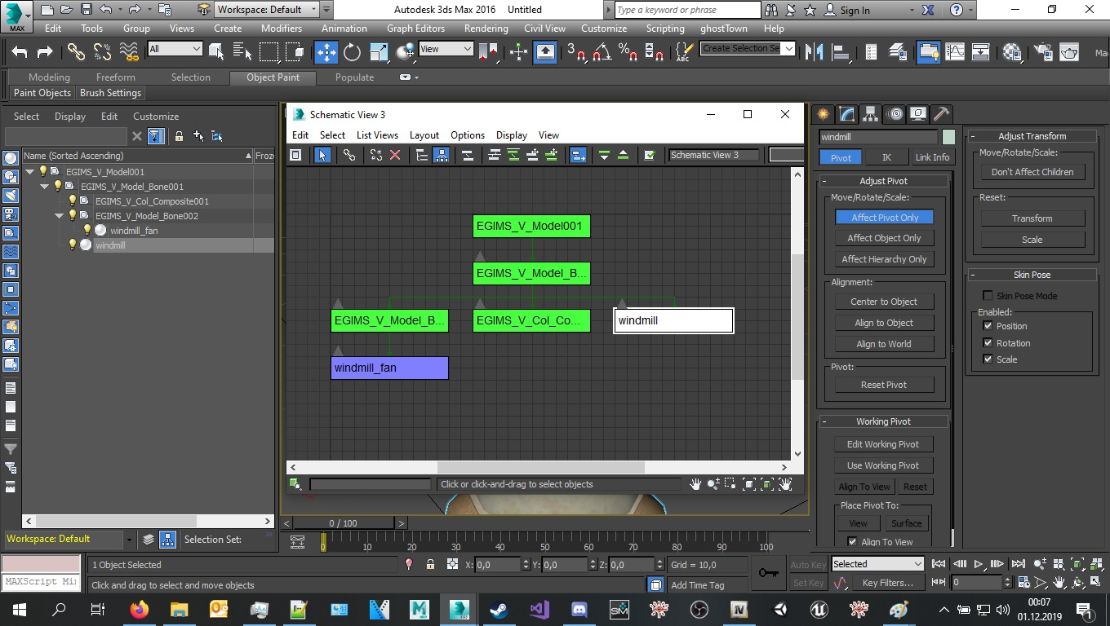
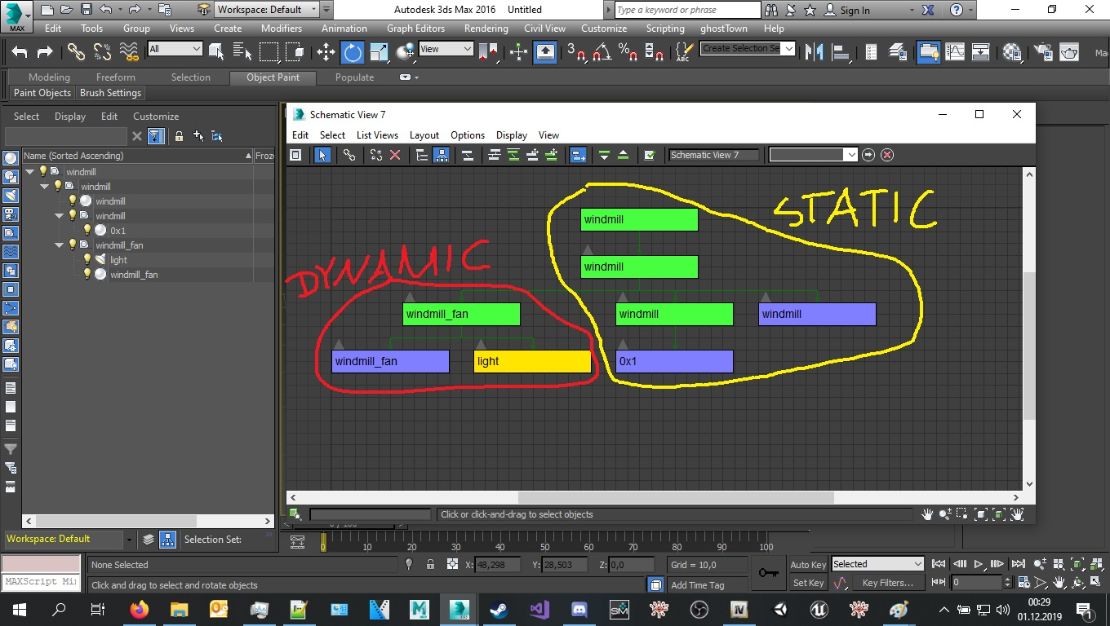
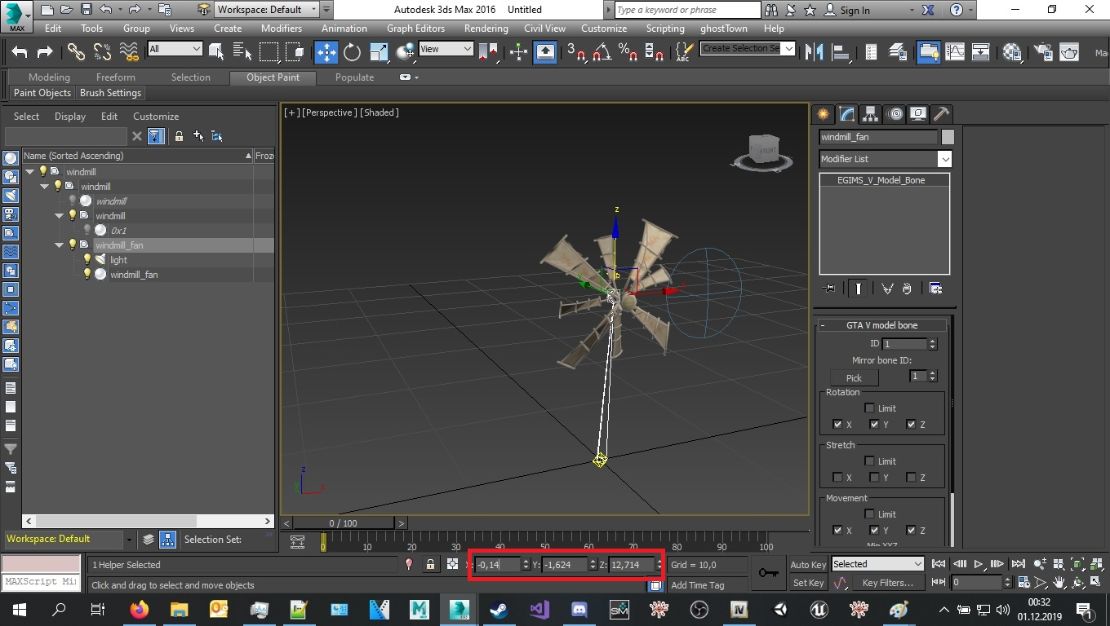
For example i will use windmill, separate two parts - main building that will be static and fan that will be rotated.
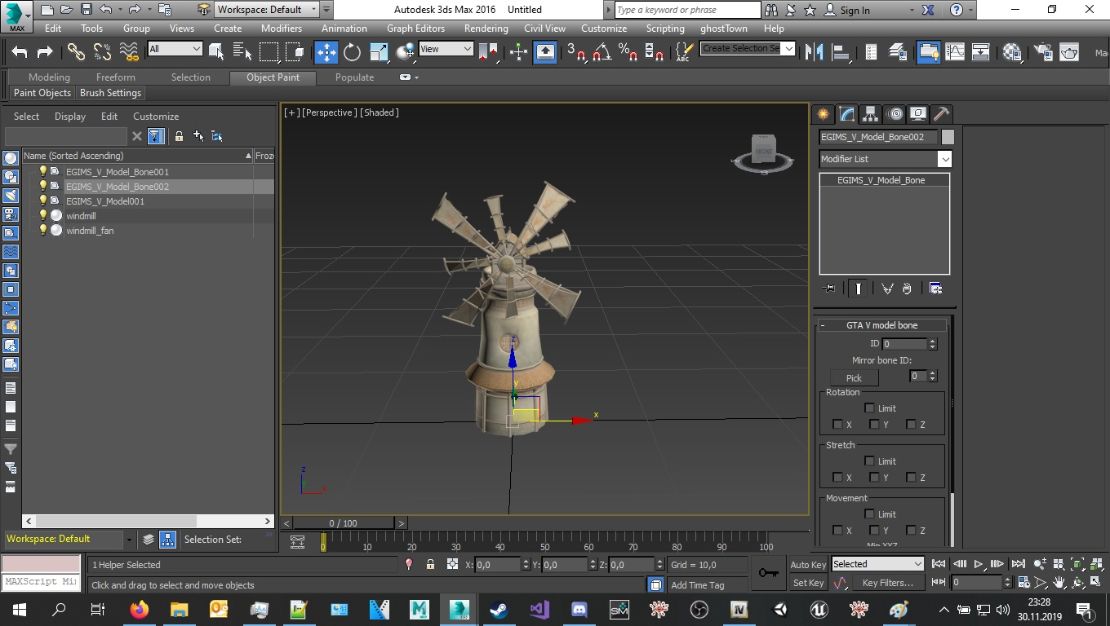
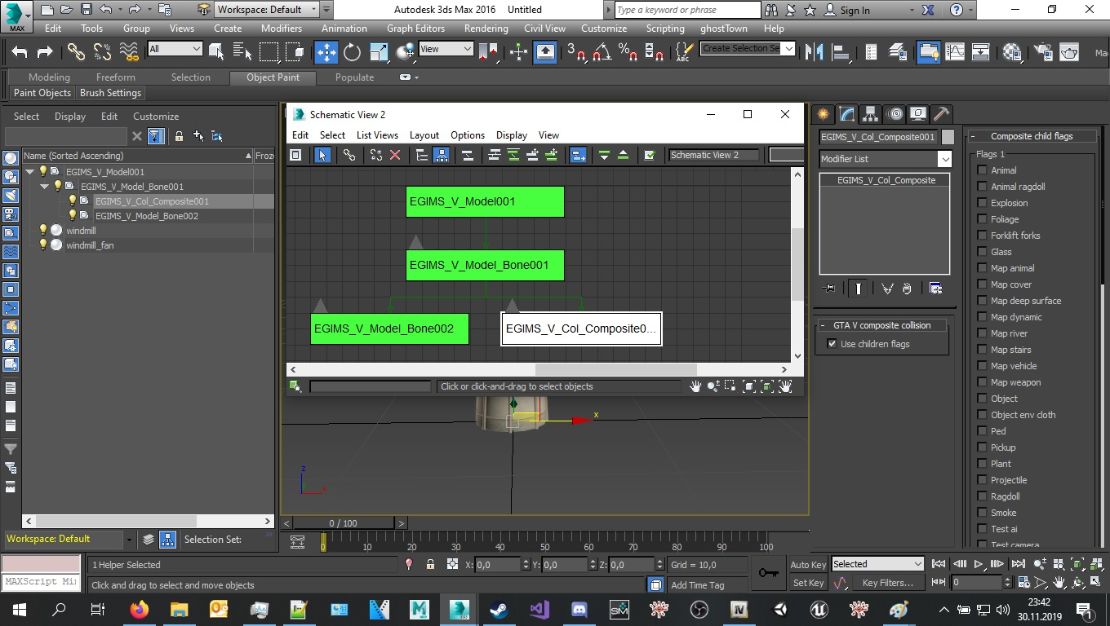
You need to drag (move) bone1 under model and bone2 move under bone1
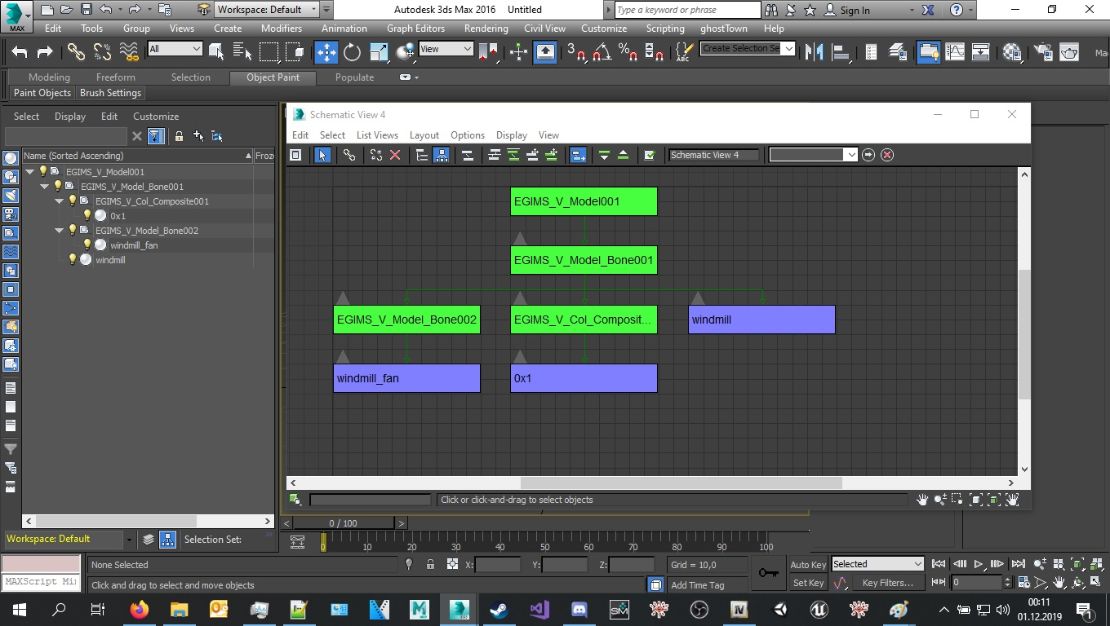
It will looks like this:
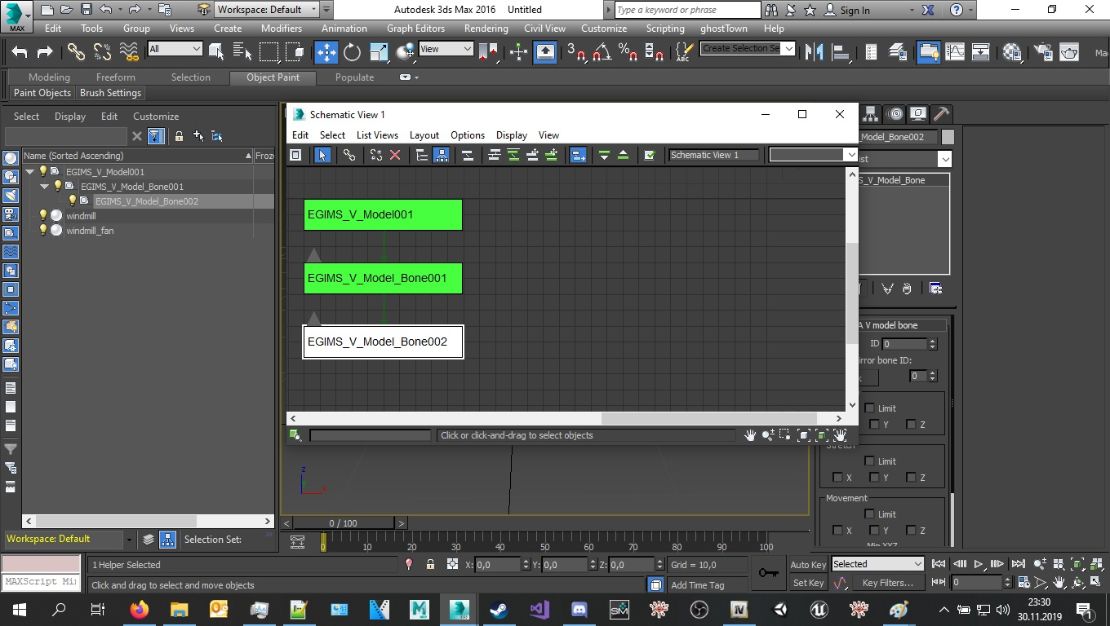
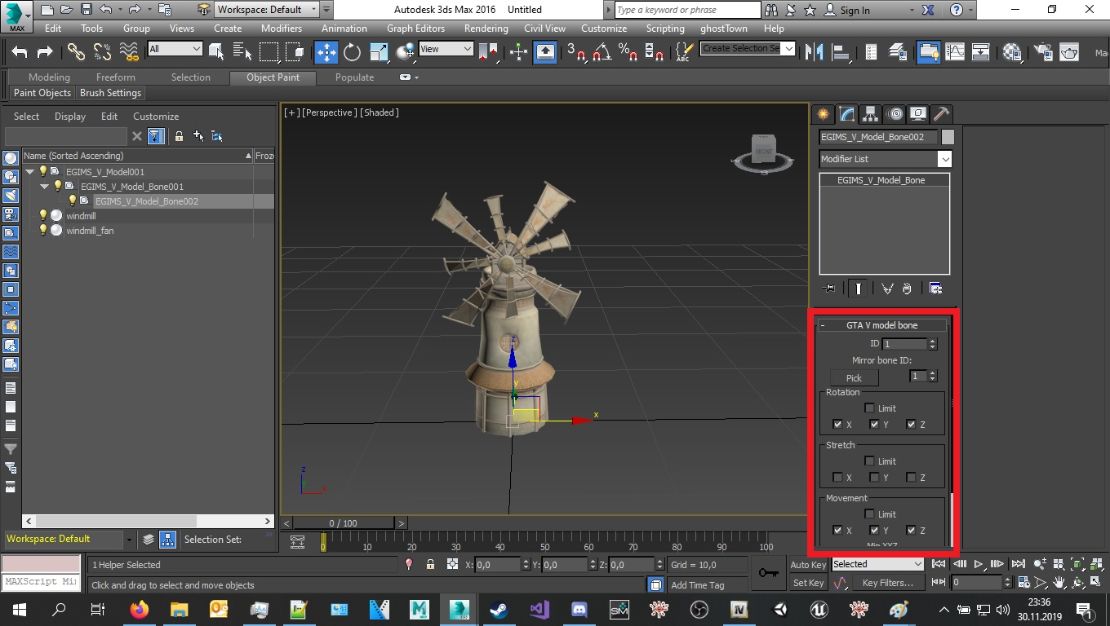
!And important thing!
Set ID to 1 and Mirror bone id to 1
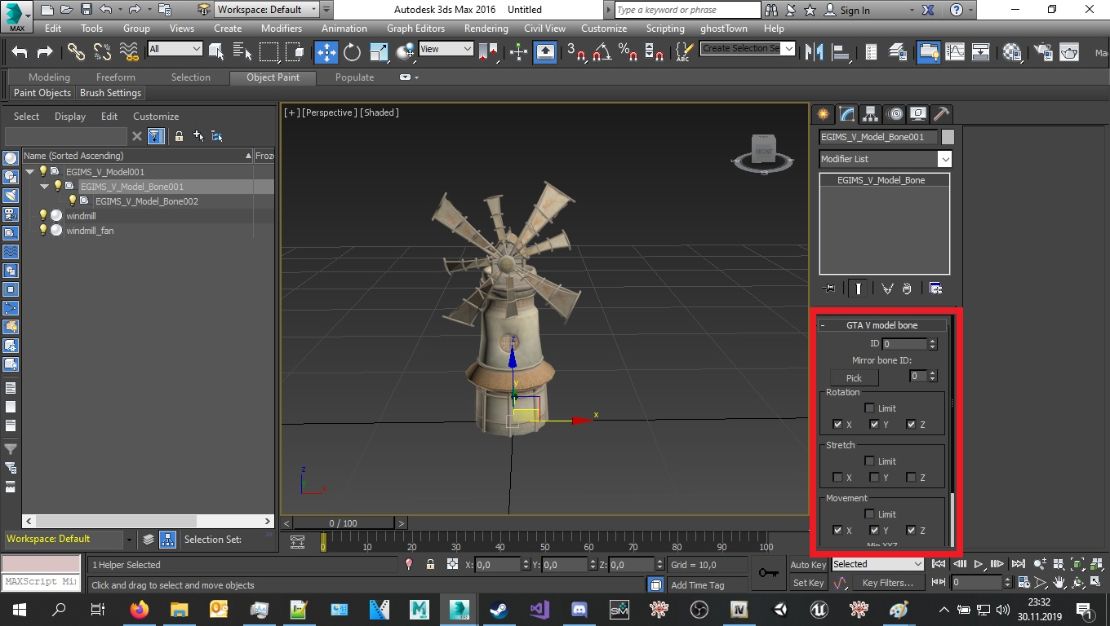
First bone under model is root bone and its always id.0 other bones under bone id.0 are animated ones that have ids from 1to upper. (dont give same ids to different bones!)
So in this example we have static root bone id.0 and animated bone id.1
From now i will refer to bone ids.
(this bone will be centre of rotation so where you place that bone will affect how mesh will be rotated)
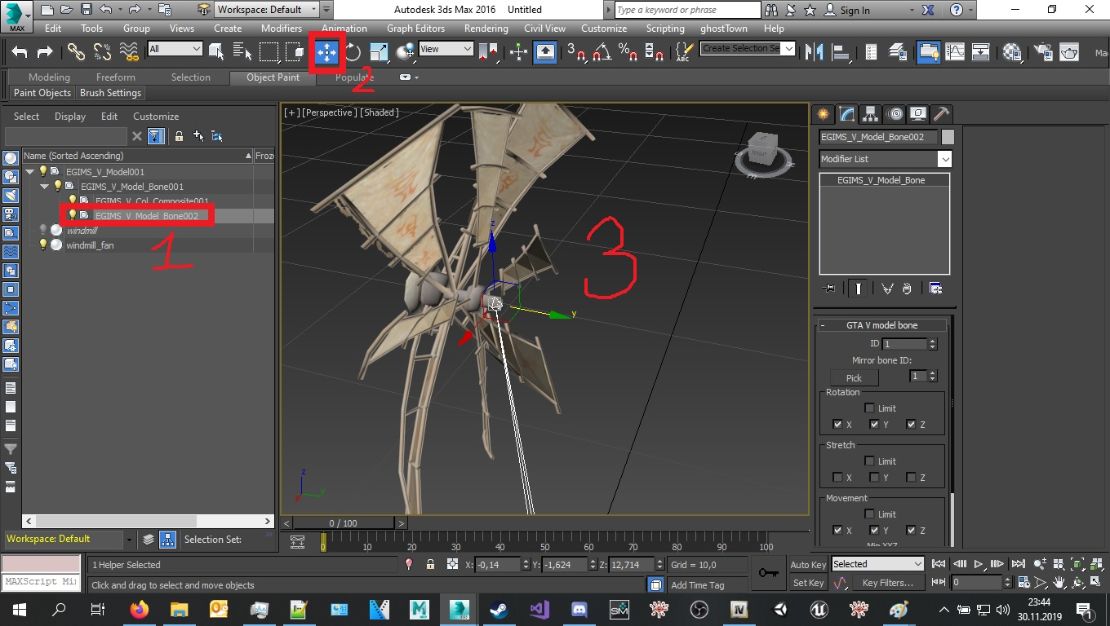
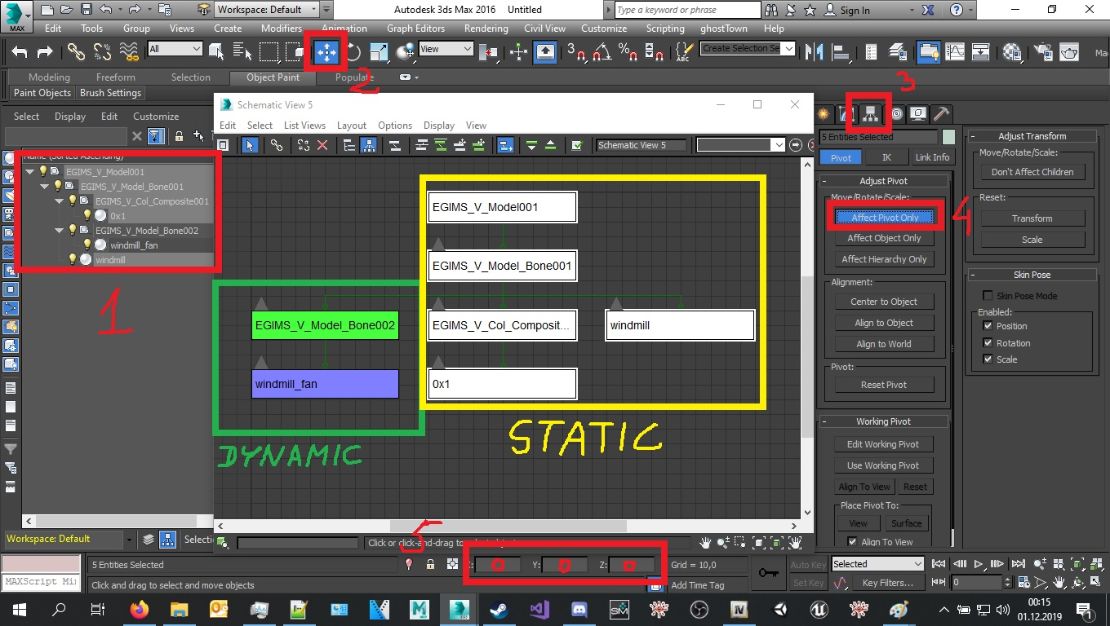
(this is like i use - doesnt mean you MUST the same way but like i saw on vanilla files root bone id.0 got same name like model)
BACK TO TOP
------------------------------------------------------------------------------------------------------------------------------------------------------------
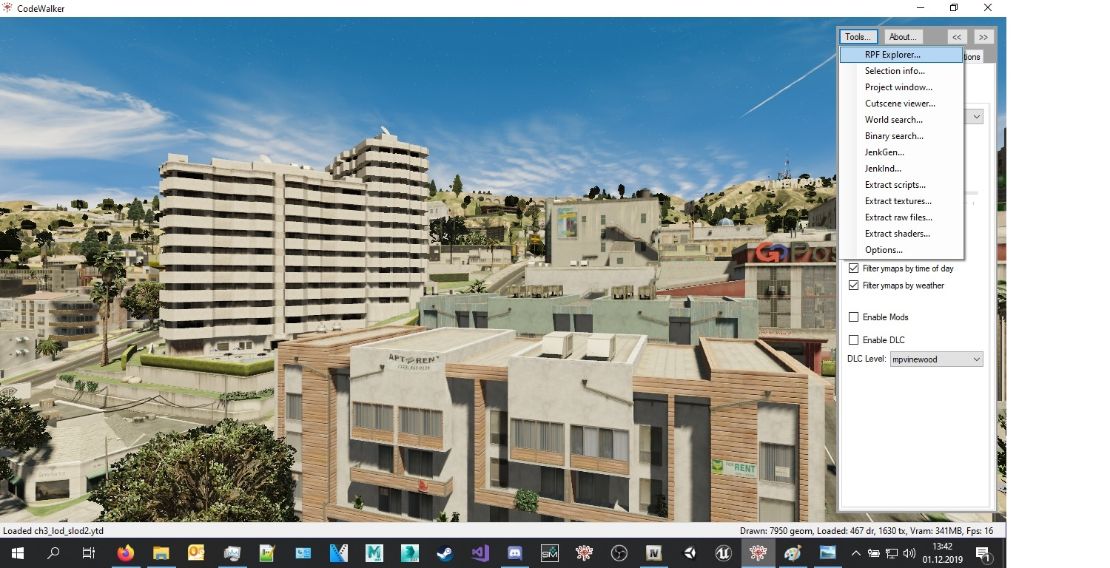
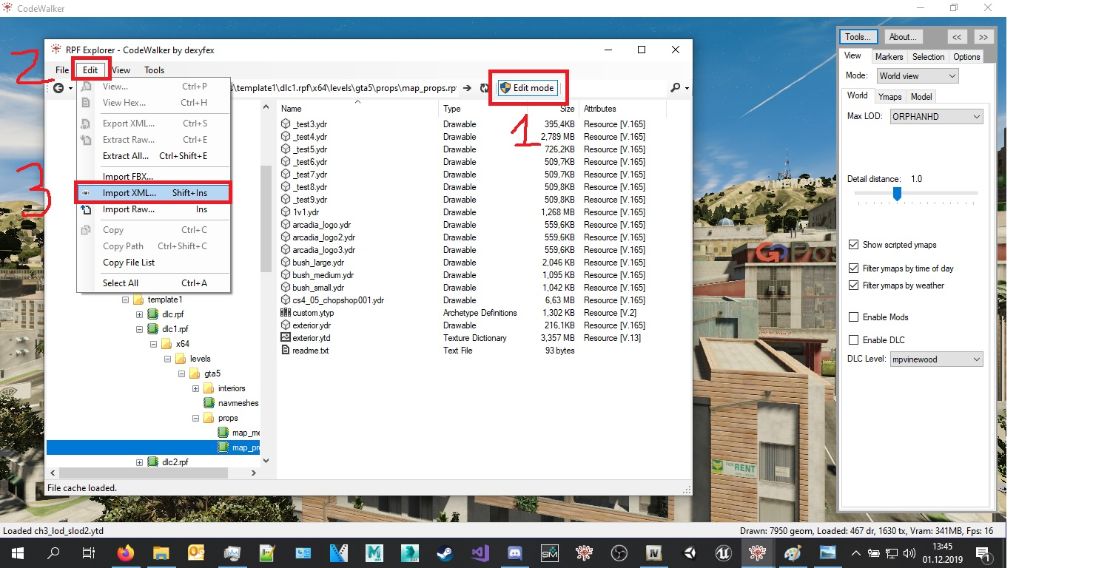
2. Metafiles set up
(xml version of ycd and ytyp)
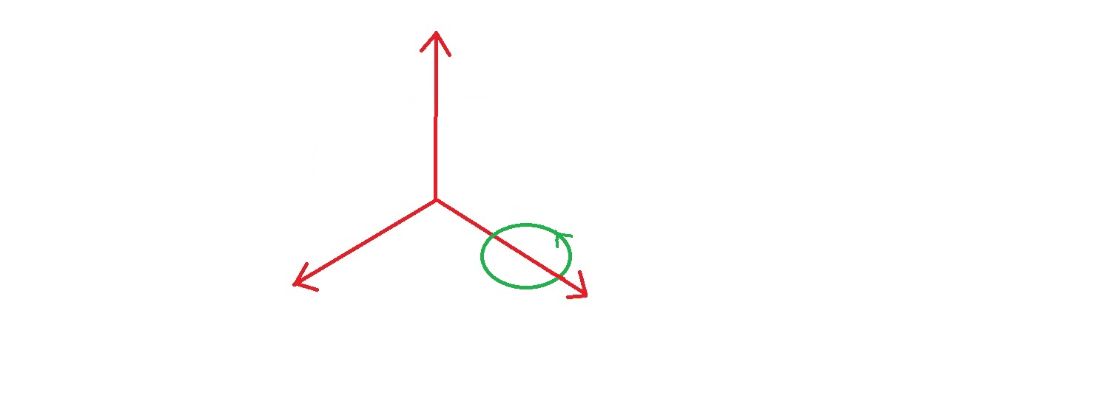
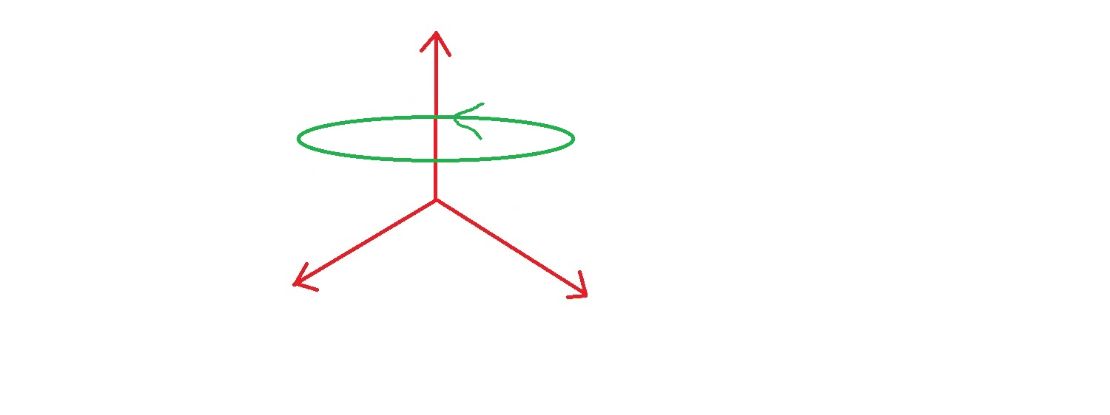
One for vertical rotation:
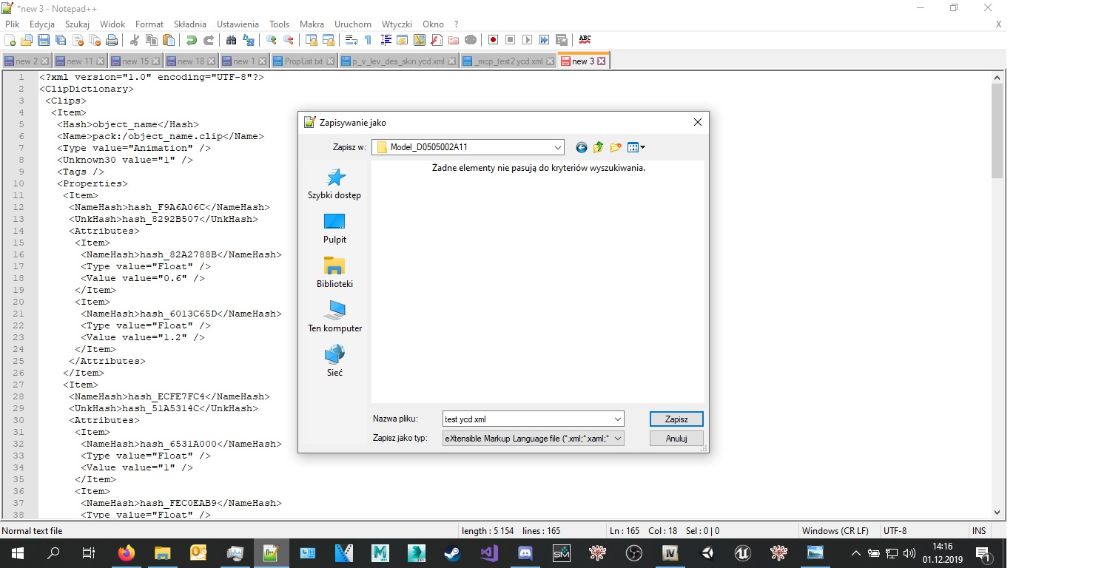
<Channels>
<Item>
<Type value="StaticVector3" />
<Value x="0" y="0" z="0" />
</Item>
</Channels>
</Item>
<Channels>
<Item>
<Type value="StaticVector3" />
<Value x="-0.165" y="-1.66" z="12.733" />
</Item>
</Channels>
</Item>
This is refer to bone id.1 (logical next one shoulde be for bone id2, next for bone id.3 ect but in this file are only bone id0 and id1)
You need to change this values - it must be exact like position of your bone id1 in max:
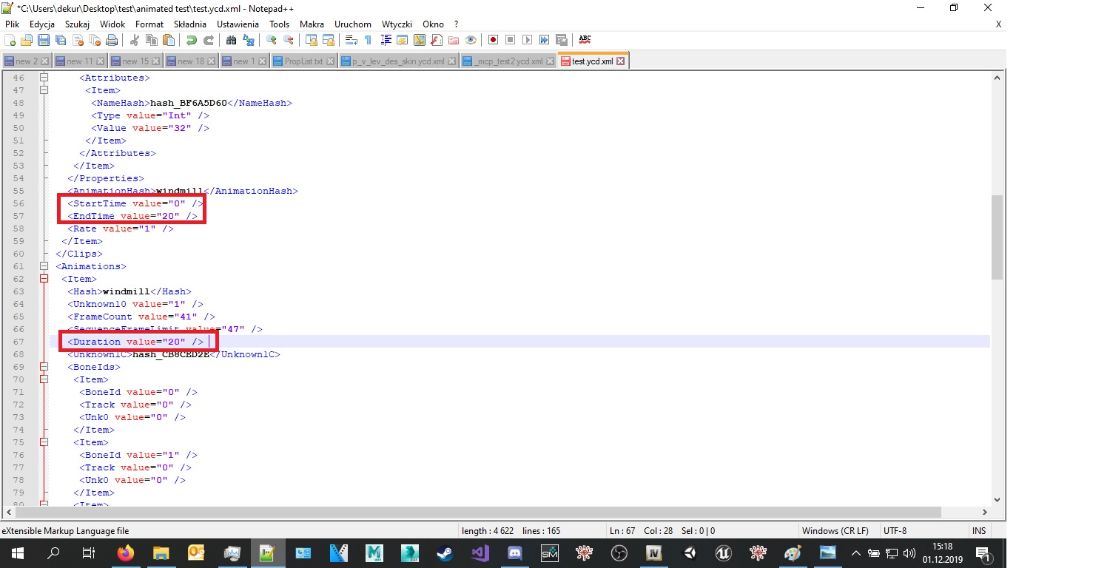
Higher value is slower rotation, lower value is faster rotation.
<flags value="537395712"/> or <flags value="512"/>
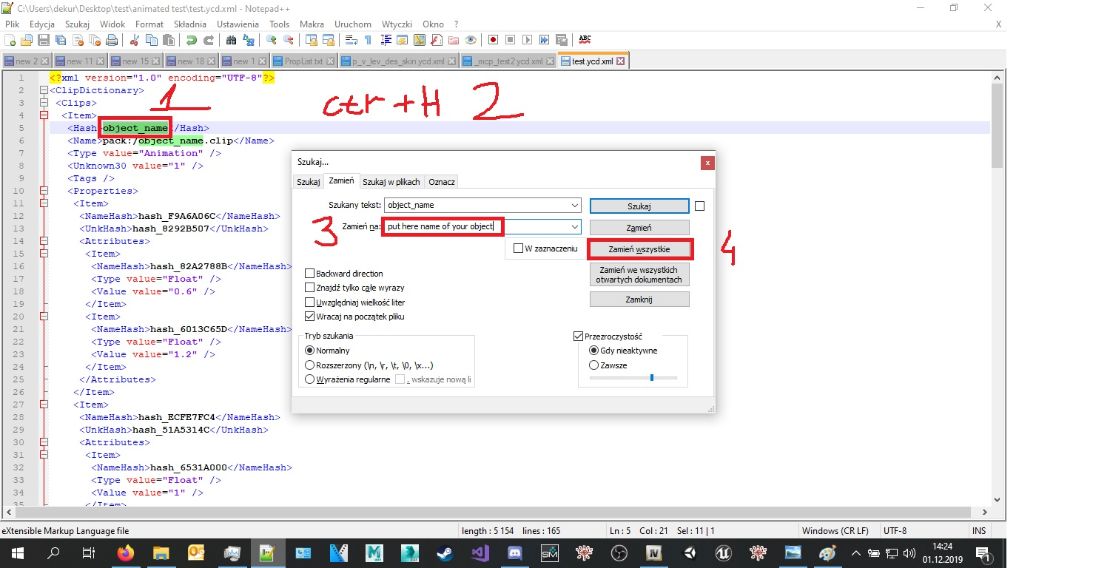
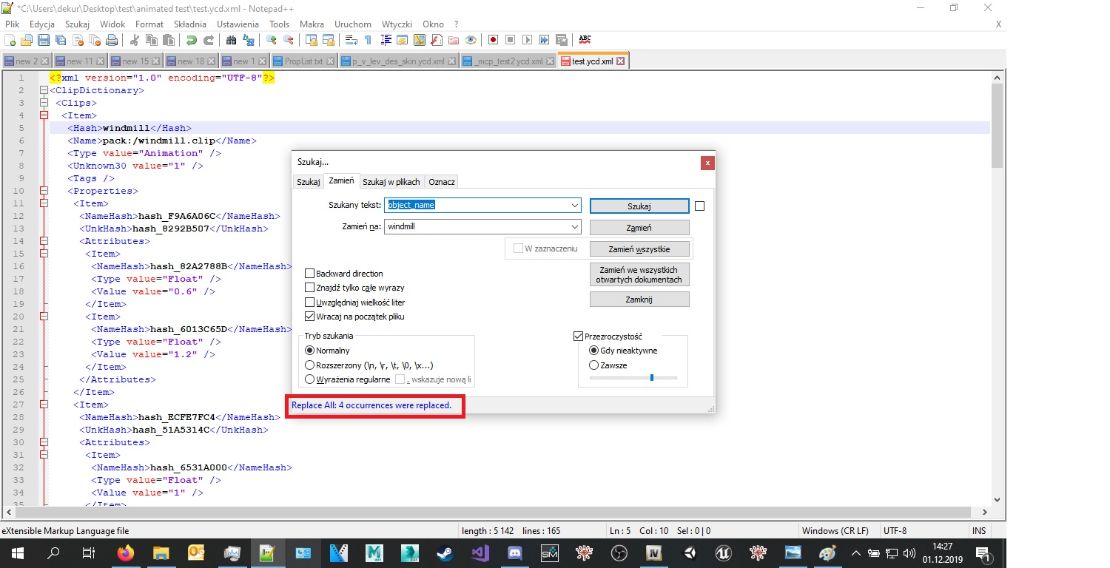
and add clip dictionary (name of your created ycd):
<clipDictionary>ycd_name_here</clipDictionary>
BACK TO TOP
------------------------------------------------------------------------------------------------------------------------------------------------------------
3. Extensions
(in animated part of mesh)
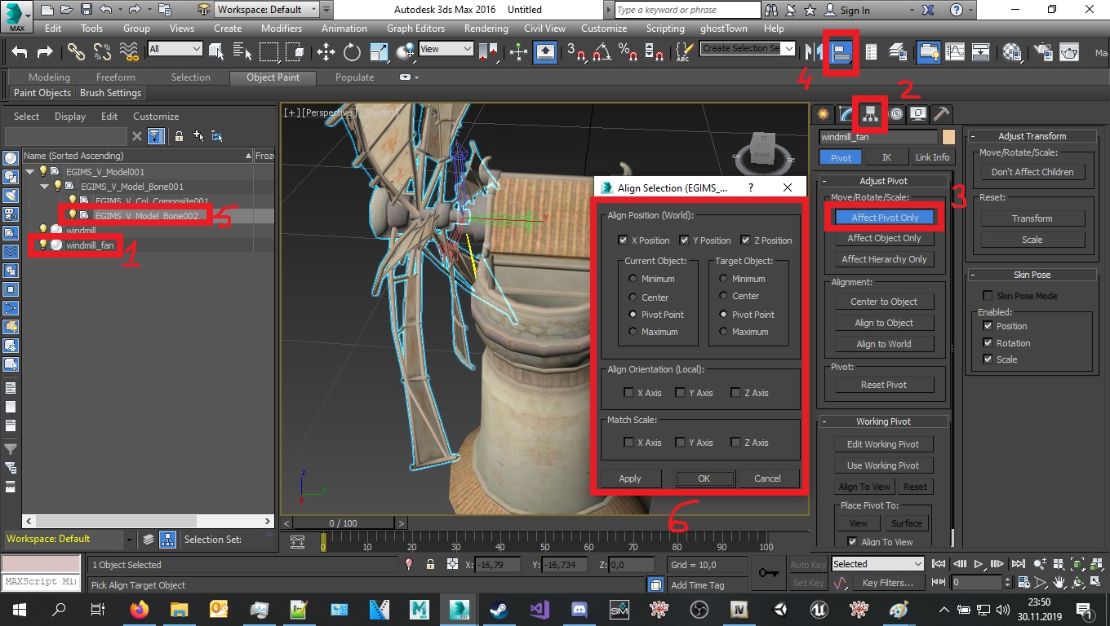
1. Coords are different - offset is not from 0,0,0 but from centre of animated bone (bone id.1 in this example).
So in max first select bone id.1 then move it to 0,0,0 and then select mesh in vertex selection take coords or vertex:

<boneTag value="1"/>
And result:
BACK TO TOP
------------------------------------------------------------------------------------------------------------------------------------------------------------
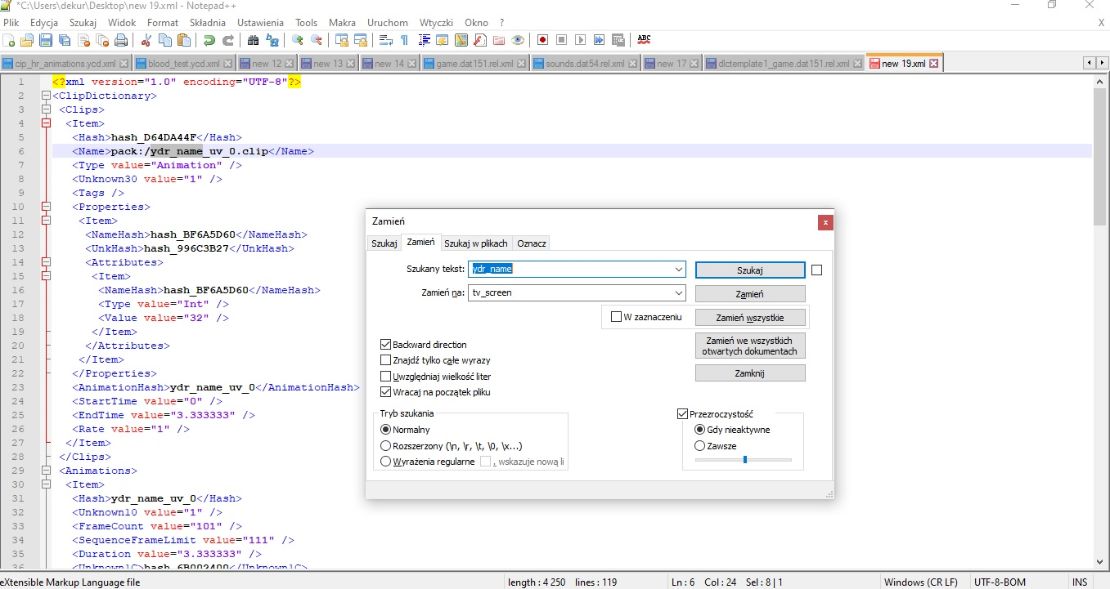
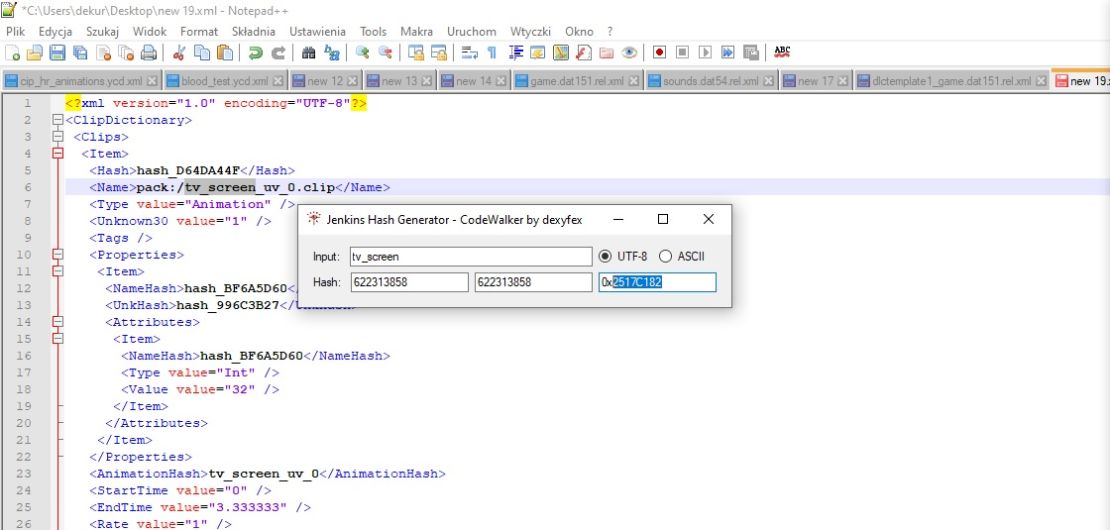
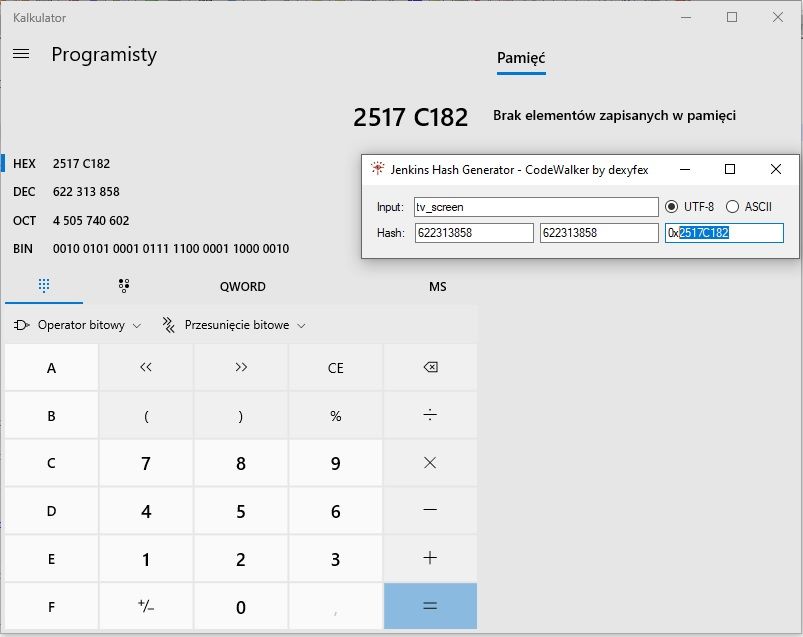
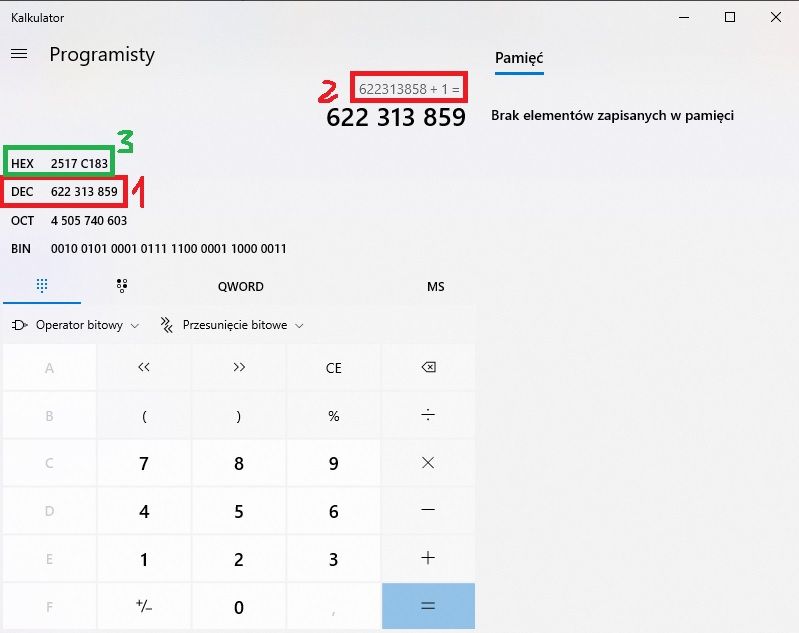
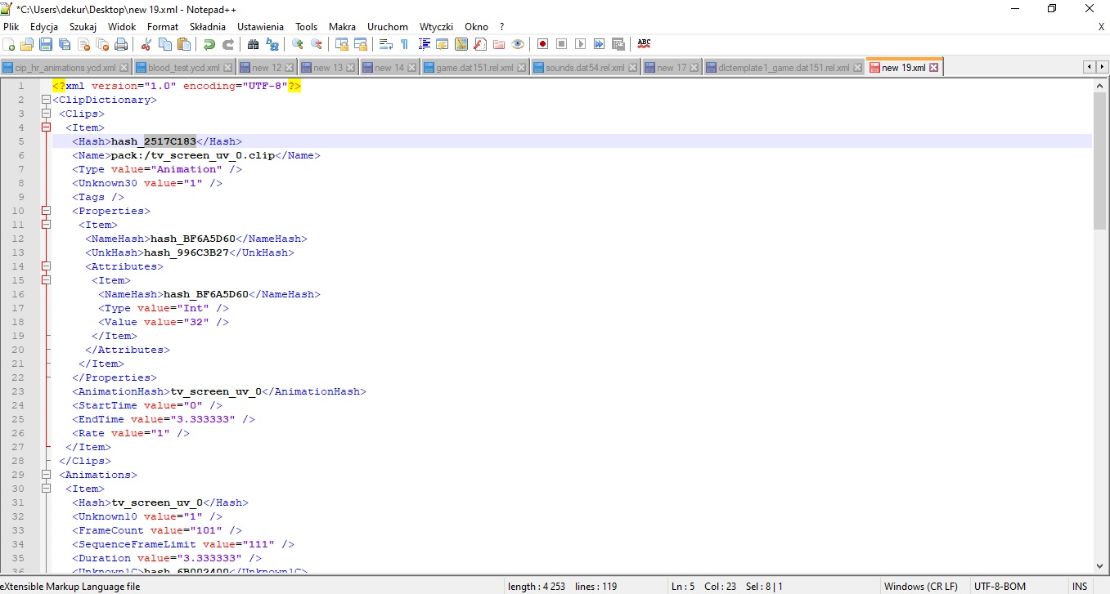
3. Combine of animations
(different animations in one object)
Simple scrolling texture animation
BACK TO TOP
------------------------------------------------------------------------------------------------------------------------------------------------------------
© 2019-2022 All rights reserved by Dekurwinator.